So, anyone who knows me, knows that I am an avid Star Wars fan. I mean, I am in love with it beyond reason. Stormtroopers and Clones for the win!
So, cruising through reddit on /r/StarWars, I noticed user MentalUtopia made some Lightsabers using clear PVC and led stripping. Now this was awesome, I was in love at first sight and set my self to making my own with a mate, but the big problem, what colour did I want? This is a big decision! The kind of stuff that will alter my life forever!
Hang on.
Why do I need to decide?
I don’t have to follow MentalUtopia’s instructions perfectly, I’m an Engineer! I have to make things better even if they don’t need it!
Why not use RGB leds? Simple PWM control circuit to vary the brightness of each led, any colour you want for a lightsaber! Tweasy!
So, let’s break this down into different modules, just to make it easier to understand and build.
- RGB led stripping
- PWM generation
- Power
- Blade
- Handle
RGB led stripping. Turns out that stuff is rather expensive… Retail price is crazy, so let’s avoid retail pricing. Because I will be making 2 lightsabers, one for me and one for my mate, I was going to need a 5m reel of the stuff. If I was to go to Jaycar, that’d end up costing me around 150 bucks, and that’s crazy, so to eBay we go! 20 bucks later and we have 5m shipping in from Hong Kong. That takes care of that! On to the control circuit.
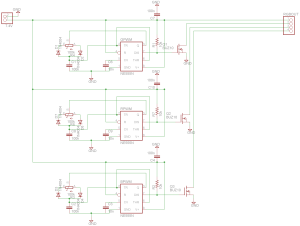
PWM generation. So, how was I going to do this? PWM with an Arduino is easy, with AVR, slightly harder but still very easy, but, where’s the fun in not challenging myself? For this project I decided to use three 555 timers to generate a PWM signal, using a trimpot to vary the duty cycle. And off we go!
This is the circuit I designed:
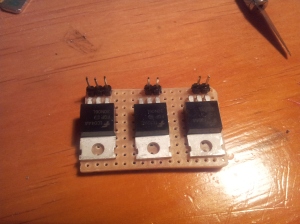
You can see here that I am not driving the led strip directly from the 555 timers. This is because the led stripping will end up drawing around 1.5 amps, depending on what leds are on and how bright, and the 555 timers can sink 200mA, so we use a set of MOSFETs to switch the ground line of the led stripping between floating and ground, driven by the output of the 555 timers. Take note: I used a 10K trimpot instead of a 100K trimpot and I used RFP30N06LE n-type MOSFETs. The 10K trimpots set the PWM frequency to a good speed and the MOSFETs where just what I could get.
In operation, the total control circuit draws about 6mA and oscillates at 2kHz.
Now I have a control circuit, how am I gonna power it?
Power. Now, this baby will draw a lot of juice. 2.5m of leds will do that to a circuit, so my battery will have to be pretty hefty, preferable rechargeable, so I remove the overhead of buying new batteries every 2 days. MentalUtopia used a 7.4v LiPo battery, so why not use that? On to HobbyKing.com, and we have batteries and chargers coming!
Now what’s left? All the electronics is planned, what about aesthetics?
Blade. For the blade we settled with 1.1m of clear acrylic tubing of 19.1mm diameter. Picked it up locally from Rooney G’s Plastics.
Handle. To hold all that circuitry, we are going to need a fairly long handle, unfortunately, so, we picked up some 25mm PVC piping and some fittings to make an emitter and base of the lightsaber handle.
So, that’s the planning stage out of the way, let’s get on with building it!
Once I had the parts from LittleBirdElectronics and eBay, I was able to put it together to test it a bit better!
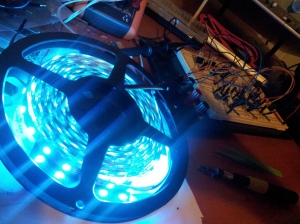 During testing, I noticed that 7.4v wasn’t enough to power the blue leds on the led strip, they light up, but at full on, they where pretty weak. With all colours at max, instead of a white colour, we where getting a weak yellow colour. So it turns out the 7.4v batteries that I had, won’t work all that well… Oh well, order some 11.1v batteries and just use the 7.4v ones until they arrive.
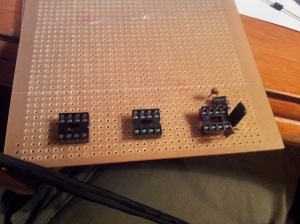
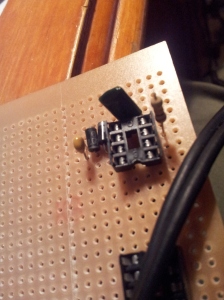
Circuit works, let’s get it onto circuit boards!
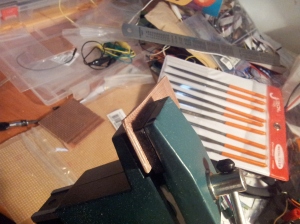
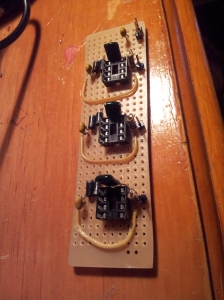
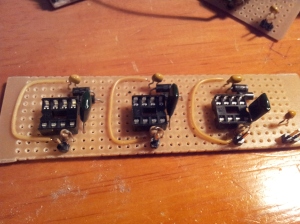
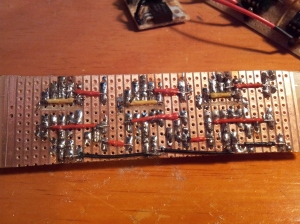
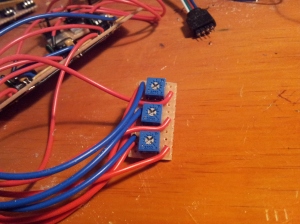
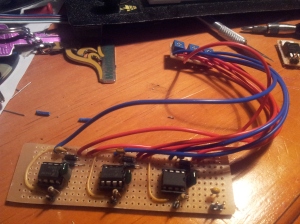
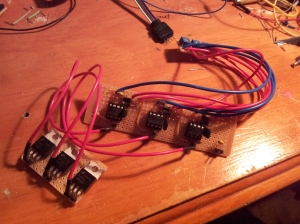
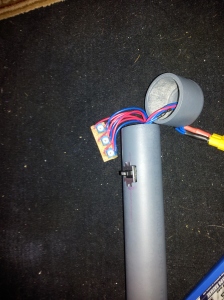
Notice a modular design allowing for mounting in the handle easier and separating the MOSFETs from the 555 timers to remove interference and in case the MOSFETs get hot (which experimentally, they don’t, but that was in open air, not mounted inside a PVC pipe). The trimpots are mounted on a separate board so they can be pulled out of the base of the handles to easily change to colour of the lightsaber.
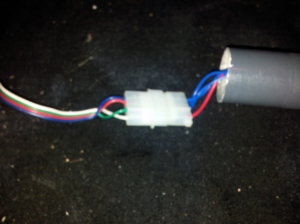
Let’s get it into the handle! I soldered on a Molex plug to connect the led strip to the control circuit to allow the blade to be remove from the handle so we can change handles or blades. The whole design was modular to allow broken parts to be replaced and new handles to be designed and built.
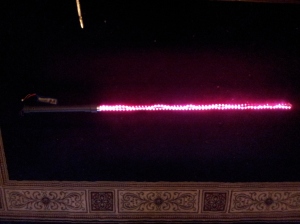
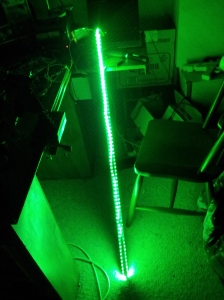
At the moment the handles are just undercoated, with a bit of the emitter painted chrome, it’s all aesthetics from here on in, some paint and handle work to come. Have some photos and a video!
The led strip is hooked over a piece of wire that is hot glued to the top of the blade, holding it in place. The led strip needs gluing together and twisting to get a better light distribution. As you can see, the leds are quite prominent, so some frosting and/or diffusing might be in order alter to get an even light distribution across the blade.
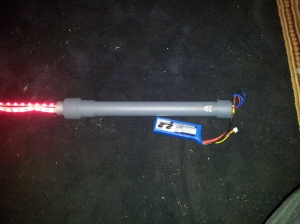
There is no space to mount the battery inside the handle, so at the moment it sits outside the handle. When the 11.1v batteries arrive, I’ll velcro and cable tie the battery to the side of the handle, poor design feature, but oh well.
So there you go! Any colour lightsabers! Some more work needs to be done tidying up the handle, but, the concept and electronics is there!
What destiny will you chose?
EDIT:
New photos!
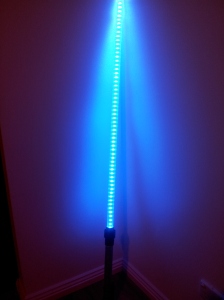
The new battery arrived so now I have blue! Works a charm.
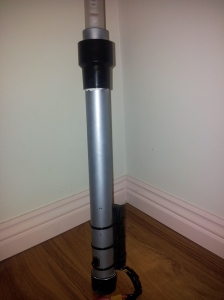
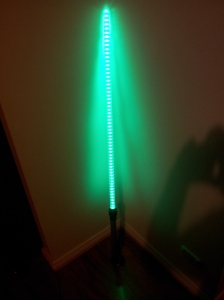
I’ve painted the handle up a bit, attached the battery with cable ties and velcro and diffused the blade by wet sanding the acrylic with 400 grit paper. Turned out a lot better if you ask me. I also trimmed the LED strip so there was no excess and glued it down better.




What a great project is this, nice job!
Hi there,
Great post and project, nicely done! Inspiring work for a fellow computer engineering student 🙂
I had a question about your circuit. I’ve not seen pins 3, 6, and 7 used in that fashion before, and haven’t seen any examples similar to this. Would you mind explaining how this setup affects the circuit timing and how you calculated your timing and frequency values?